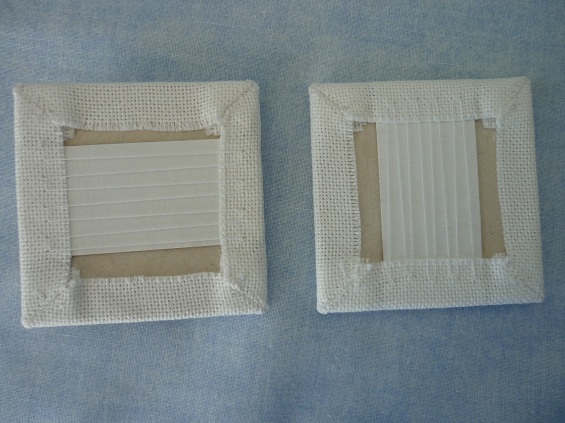
First I baste (or press) lines to mark the desired height and width of the ornament. I use the weave of the fabric to make them completely straight.

From Dimensions kit "Beaded Elegance".
Then I center the padded backing board over the back side of the stitched piece.

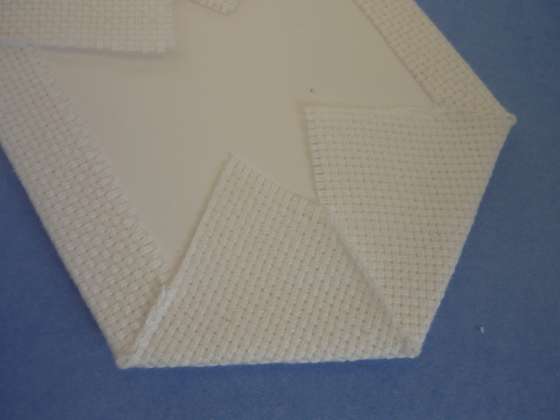
In order to achieve a nicely mitred corner it is very important that the folded fabric stick to the backing board right to the edges of the corners, in the area marked in pink,
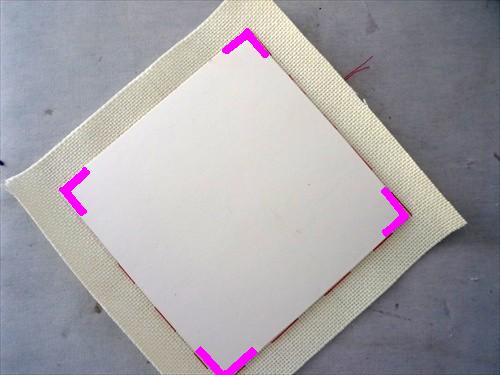
no matter what kind of adhesive is used. This time I used double sided tape. I applied it to all four edges,
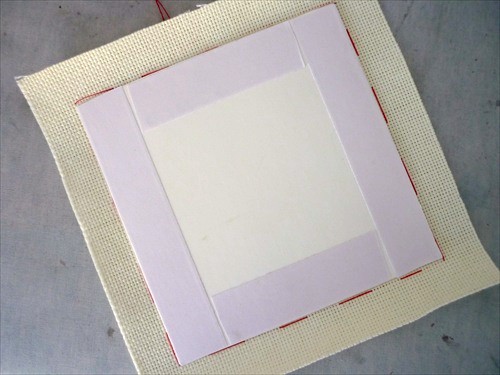
then removed the backing paper from the corners.

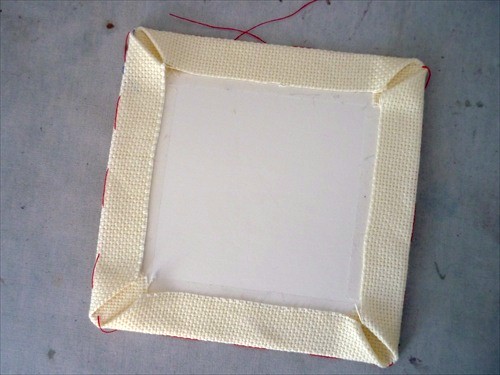
I folded all four fabric corners over the backing board and pressed them firmly in place.
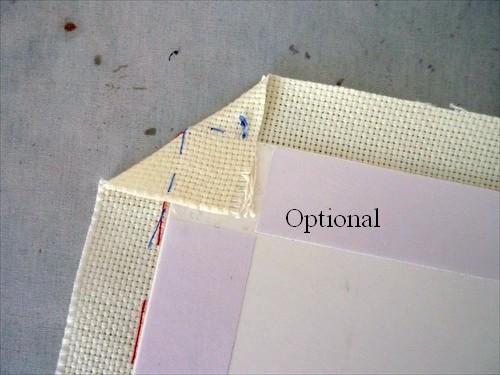
I knew that the fabric was unlikely to lift from the edges when I folded the rest of the fabric over but if I had been using a different adhesive and I had any doubts I would have temporarily basted the corners, as I show on this one corner.
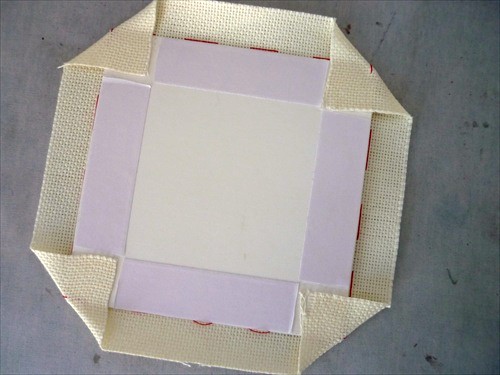
I removed the backing paper from each edge and folded the fabric over the double sided tape, making sure that I folded on the basted lines.
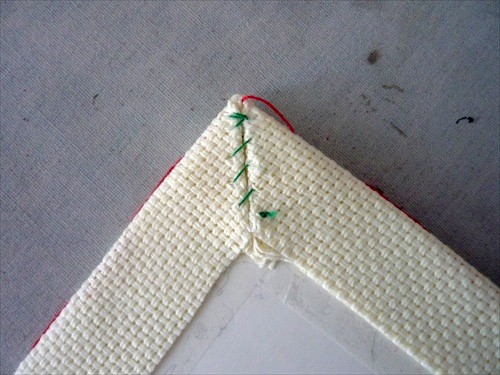
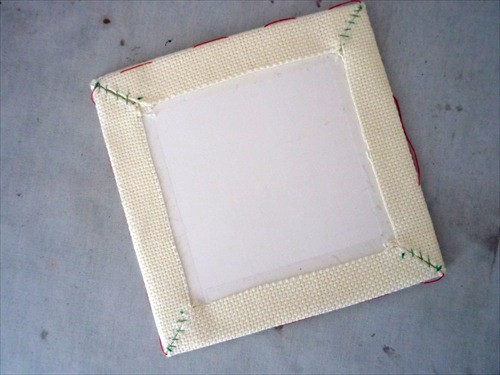
Then I slip stitched the fabric folds at each corner, knowing that the closer I stitched to the corners the more precise the corners would be. (I used contrasting thread for these photos. On an actual ornament I would use thread that matched the fabric.)
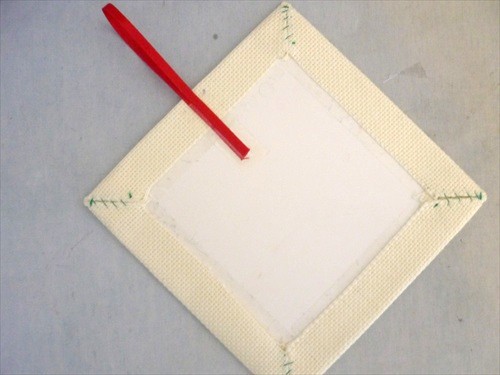
When all four corners were stitched I removed the basting stitches and used double sided tape to fasten both ends of my hanging ribbon to the backing board so that the loop will emerge from the top of the ornament.
Then I would repeat these steps to assemble the back of the ornament. To see the other steps involved in assembling a padded ornament you can click on either of the photos below.


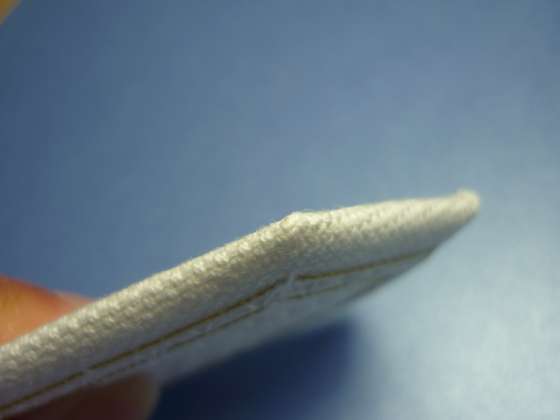
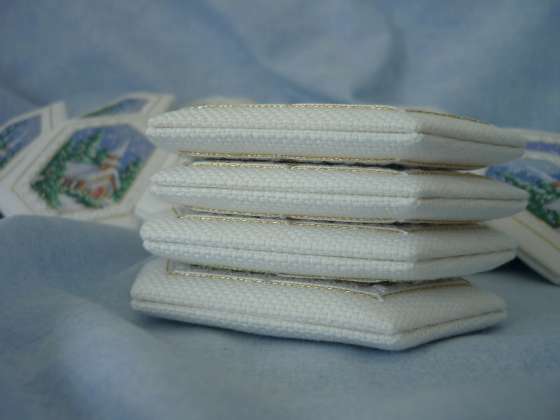
Note that sometimes when there are six layers cross stitch fabrics there will be a gap in the center that doesn't provide a good surface to support the cording.
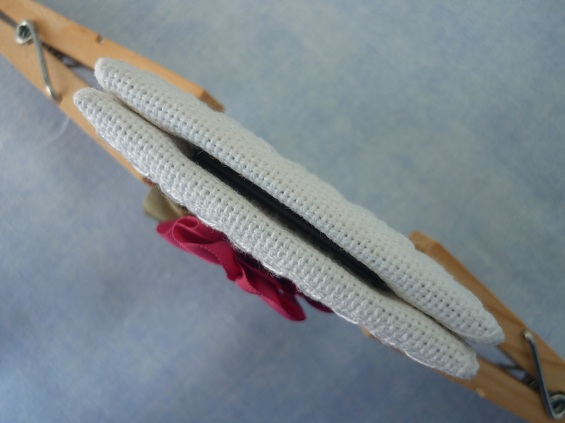
If the fabric is stuck to the backing I prefer not to force the two edges together because will mean bending the backing. I have could slip stitch the two edges together but for this ornament I decided to add some additional depth to the center of each edge. To achieve this I placed some thin mat board below the edges of the fabric and then laced the fabric together.
(Alternatively I could have adhered strips of mat board along each edge and between the fabric at the corners and then adhered the folded over fabric to the strips. Or I could have adhered a double thickness of fabric between the corners. If these fabric strips were narrower than the folded over fabric I could then have adhered the fabric to the backing board.)
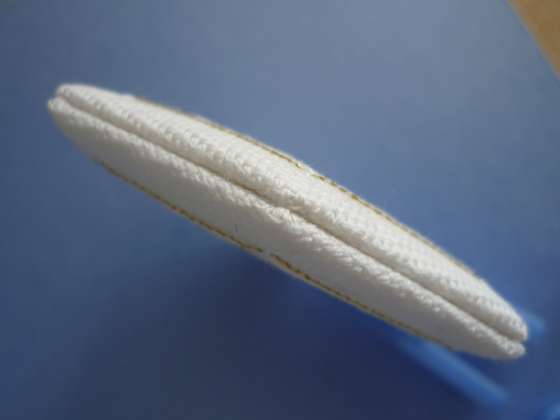
There was still a bit of a gap,
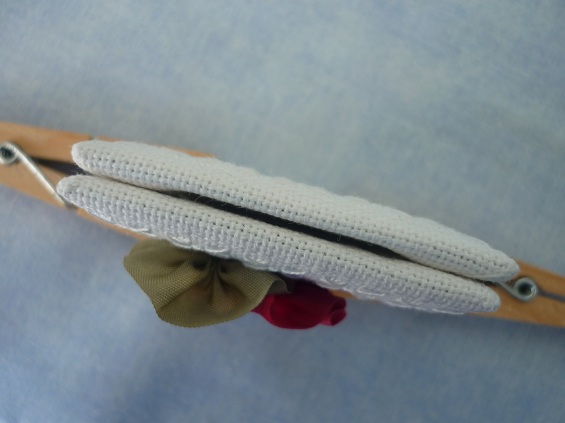
but not enough to swallow the cording and, because the fabric was only stuck to the backing board on one side, I didn't mind gluing the fabrics together to further close the gap.
For information on the design of this original project see
http://pinponpanpro2012.blogspot.ca/p/blog-page.html
2015 Postscript
In 2013 I made ornaments using a method that eliminated the gap between corners. If I had just folded over the fabric as usual the corners would have looked like this,

but I got brave and cut away the excess fabric at the corners.
I knew from past experience that the tiny ends of thread would soon spring up like a crew cut,

and I didn't want bristles at the corners of my ornaments. So, I used a tooth pick to apply a dot of fast drying Fabri-Tac glue to each corner, waited a minute and then pressed the tiny thread ends down and towards the center back of the ornament. (Like slicking down errant hairs.)
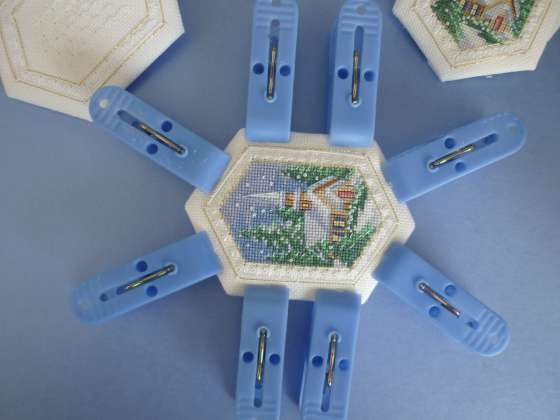
Then I glued the ornament together as usual, applied clothespins to the edges and left it to dry while I worked on the next ornament.
Design from Dimensions kit #8660 "Keepsake Ornaments"
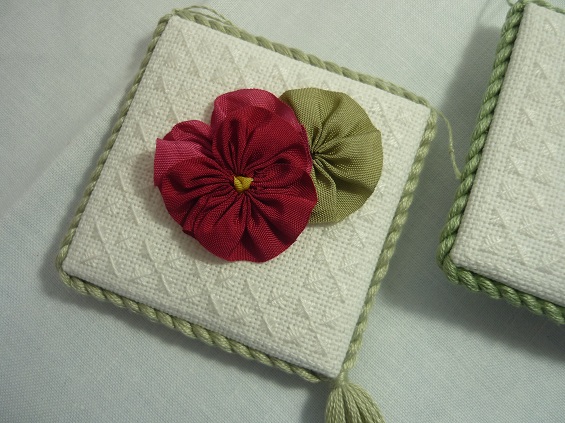
When I removed the clothespins the edges looked like this.
 Pinwheel 2012 and 2015
